
What you’ll need#
- Windows 10 (build 1809 or later) or Windows 11
- Administrator account access
- Active internet connection for DISM repair source
- Basic understanding of PowerShell or Command Prompt
- 10-30 minutes depending on system state
Overview#
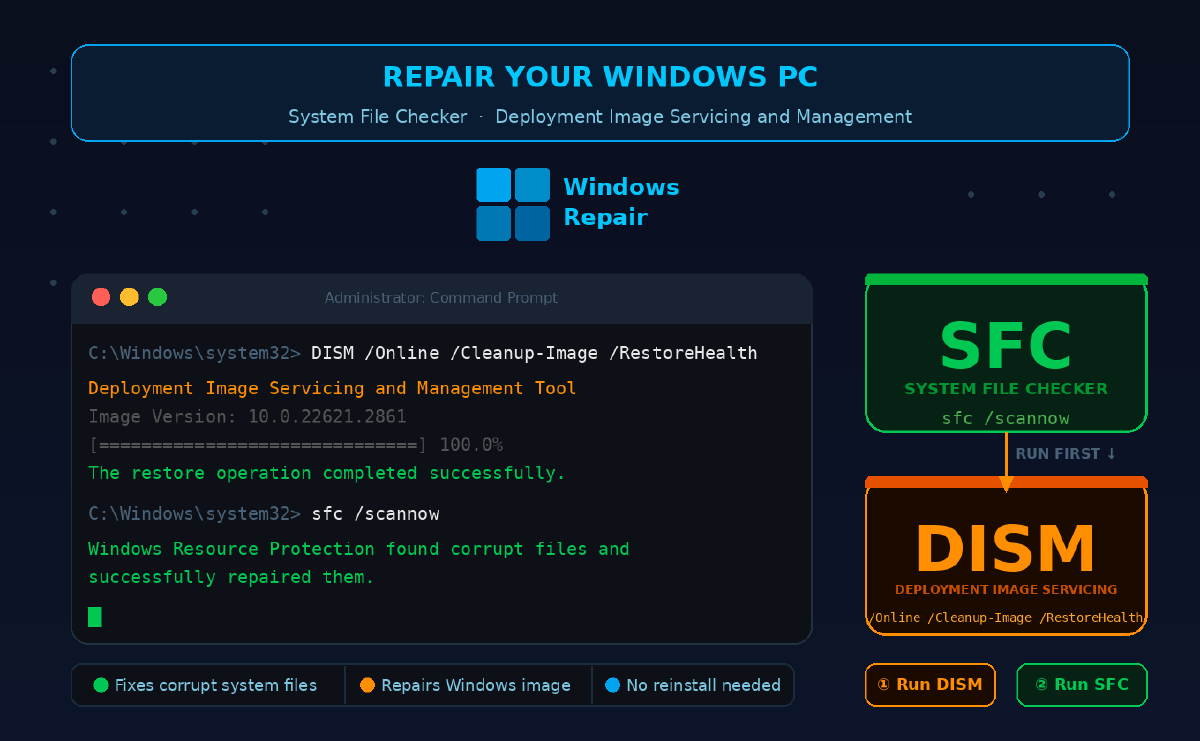
This guide walks you through repairing corrupted Windows system files using System File Checker (SFC) and Deployment Image Servicing and Management (DISM). You’ll fix files causing crashes, boot failures, or missing DLLs without reinstalling Windows.
Step 1 — Run DISM to repair the component store#
Before running SFC, repair Windows Update components that SFC uses as its repair source. Open PowerShell as Administrator (right-click Start > Windows PowerShell (Admin) or Terminal (Admin)).
DISM /Online /Cleanup-Image /RestoreHealthThis downloads healthy files from Windows Update and repairs the system image. Expect 5-15 minutes completion time. Do not interrupt this process.
Step 2 — Check DISM repair results#
Review the DISM log to confirm successful repair. The log shows whether corruption was detected and fixed.
Get-Content C:\Windows\Logs\DISM\dism.log | Select-String "Error" | Select-Object -Last 10If errors persist, use a local repair source (Windows ISO) instead of Windows Update in Step 3.
Step 3 — Use offline repair source if needed#
If DISM couldn’t repair from Windows Update, mount a Windows 11 ISO (version must match your build) and specify it as the source.
Mount-DiskImage -ImagePath "C:\Users\YourName\Downloads\Win11_23H2.iso"
DISM /Online /Cleanup-Image /RestoreHealth /Source:D:\sources\install.wim:1 /LimitAccess
Replace D: with your mounted drive letter. The /LimitAccess flag prevents Windows Update fallback.
Step 4 — Run System File Checker#
Now that the component store is healthy, SFC can repair protected system files using verified sources.
sfc /scannowThis scans all protected files and replaces corrupted versions. Takes 10-30 minutes. “Windows Resource Protection found corrupt files and successfully repaired them” indicates success.
Step 5 — Review SFC repair details#
Check which files SFC repaired or failed to fix. The CBS log contains detailed results.
findstr /c:"[SR]" C:\Windows\Logs\CBS\CBS.log > "$env:USERPROFILE\Desktop\sfcdetails.txt"
notepad "$env:USERPROFILE\Desktop\sfcdetails.txt"
Look for “Cannot repair member file” entries. These require manual intervention or in-place upgrade.
Step 6 — Run secondary SFC scan#
Some corruptions require multiple passes. Run SFC again to catch dependencies from the first repair.
sfc /scannowIf this scan reports no integrity violations, your system files are healthy. Restart Windows to complete the repair process.
Testing it works#
Verify system file integrity is restored and Windows components function correctly.
sfc /verifyonlyExpected output:
Beginning system scan. This process will take some time.

Beginning verification phase of system scan.
Verification 100% complete.

Windows Resource Protection did not find any integrity violations.
Additionally, check DISM health state:
DISM /Online /Cleanup-Image /ScanHealthCommon issues#
“Windows Resource Protection could not perform the requested operation” This occurs when Windows Resource Protection service isn’t running or CBS log is locked. Restart Windows in Safe Mode and run
sfc /scannowagain. If still failing, boot from Windows installation media and runsfc /scannow /offbootdir=C:\ /offwindir=C:\Windows.“Windows Resource Protection found corrupt files but was unable to fix some of them” The component store itself is corrupted beyond DISM’s repair capability. Mount a matching Windows ISO and run
DISM /Online /Cleanup-Image /RestoreHealth /Source:wim:D:\sources\install.wim:1with the exact build number matching your installation. Check your Windows version withwinverbefore downloading the ISO.DISM error 0x800f081f “source files could not be found” Your Windows Update components are broken or the online source is unavailable. Download the Windows Media Creation Tool for your exact build, create an ISO, mount it, and specify
/Source:D:\sources\sxs(for Windows features) or the install.wim path. Ensure your internet connection is stable and proxy settings aren’t blocking Windows Update.
Next steps#
After repairing system files, run chkdsk C: /f /r from elevated Command Prompt to check disk integrity and schedule a scan on next reboot. Use Event Viewer (eventvwr.msc) to review System and Application logs for recurring errors. Consider using Windows Update Assistant to upgrade to the latest feature update (23H2 for Windows 11, 22H2 for Windows 10), which replaces all system files. For persistent issues, perform an in-place upgrade repair by running setup.exe from mounted Windows ISO while preserving personal files and applications.