What you’ll need#
- macOS Sonoma 14.3 or later (tested on macOS Sonoma 14.3)
- Administrator privileges on your Mac
- External drive or secondary internal volume for testing (backup all data first)
- Basic understanding of file systems (APFS, HFS+, exFAT)
- Terminal access for command-line operations
Overview#
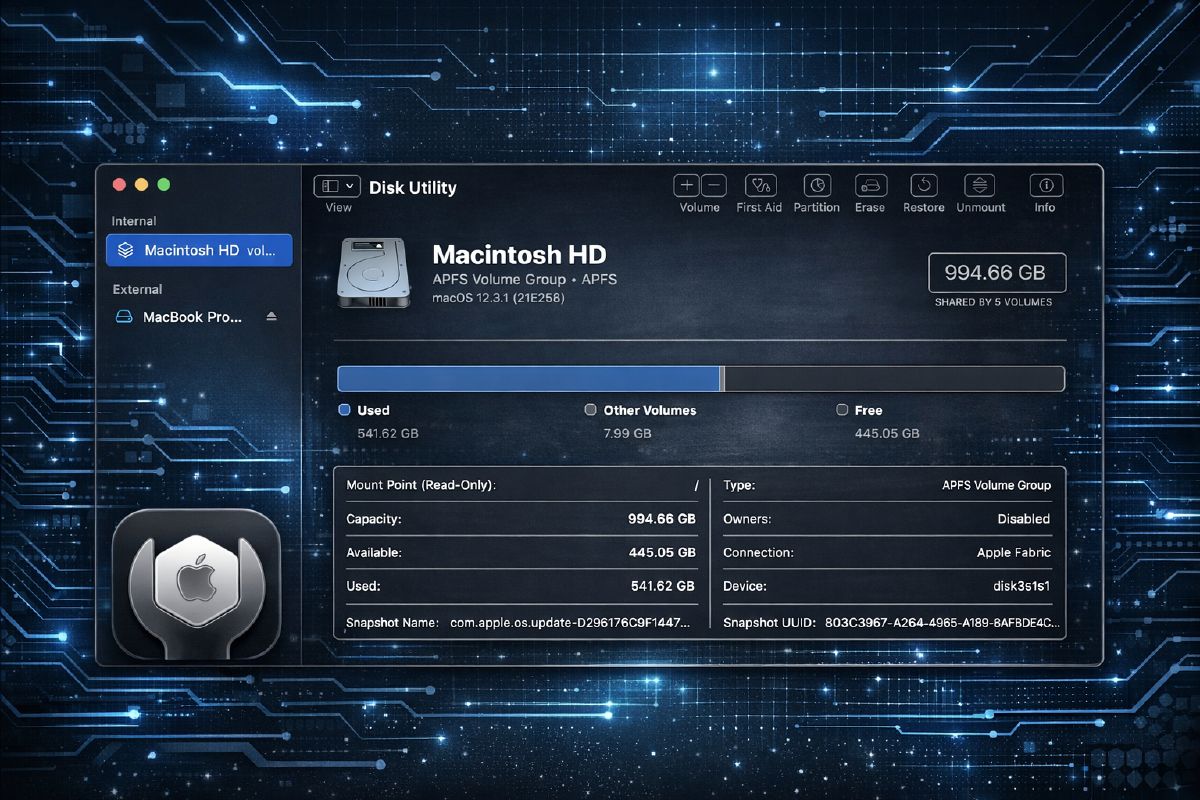
This tutorial covers using Disk Utility and the diskutil command-line tool to repair disk errors, create partitions, and securely erase drives. You’ll learn both GUI and terminal methods for managing storage on macOS.
Step 1 — List all connected drives and volumes#
Before performing any disk operations, identify your target drive. The diskutil list command shows all physical disks and their partitions with identifiers like disk0, disk1, etc.
diskutil listNote the disk identifier (e.g., disk2) for your target drive. Internal drives are typically disk0 on Apple Silicon or disk0 and disk1 on Intel Macs with separate system and data volumes.
Step 2 — Repair a drive’s file system#
Run First Aid to check and repair file system errors. This operation is non-destructive and safe for drives containing data. Use the physical disk identifier, not a volume name.
diskutil verifyDisk disk2
diskutil repairDisk disk2
For APFS volumes specifically, repair the container and volume structure:
diskutil apfs verifyVolume /dev/disk2s1
diskutil apfs repairVolume /dev/disk2s1
Step 3 — Erase a drive with a specific file system#
Erasing destroys all data on the drive. Choose APFS for macOS-only drives, exFAT for cross-platform compatibility, or HFS+ for older macOS versions. Replace disk2 with your target disk identifier.
diskutil eraseDisk APFS BackupDrive disk2For a drive shared between macOS and Windows:
diskutil eraseDisk ExFAT SharedDrive MBR disk2The format MBR creates a Master Boot Record partition scheme for maximum Windows compatibility.
Step 4 — Create multiple partitions on a drive#
Partitioning divides a physical drive into separate volumes. This example creates two APFS partitions on an already APFS-formatted drive, splitting space 60/40.
diskutil apfs resizeContainer disk2s2 60g
diskutil apfs addVolume disk2 APFS SecondVolume
For non-APFS drives, use the partitionDisk command:
diskutil partitionDisk disk2 2 GPT APFS "FirstPart" 50% APFS "SecondPart" 50%Step 5 — Securely erase free space on a volume#
After deleting sensitive files, overwrite free space to prevent recovery. This operation works on mounted volumes and takes significant time depending on drive size.
diskutil secureErase freespace 1 /Volumes/BackupDriveThe security level 1 performs a single-pass overwrite. Use 3 for 7-pass DOD compliance or 4 for 35-pass Gutmann method, though these are unnecessary for SSDs.
Step 6 — Unmount and eject a drive safely#
Always unmount drives before physical removal to prevent data corruption. Unmounting makes the volume inaccessible while keeping the drive connected; ejecting powers down external drives.
diskutil unmount /Volumes/BackupDrive
diskutil eject disk2
Use unmountDisk to unmount all volumes on a physical disk at once.
Testing it works#
Verify your operations completed successfully by listing the disk structure again and checking the file system type and partition scheme match your expectations.
diskutil info disk2 | grep -E "File System|Partition Type|Volume Name"Expected output:
   Volume Name:              BackupDrive
   File System Personality:  APFS
   Partition Type:           Apple_APFS
For repair operations, verify the exit status shows no errors found or all errors corrected.
Common issues#
Error: “Disk Utility can’t unmount disk” when attempting to partition or erase This occurs when files on the disk are in use by applications or the system. Quit all applications, check Activity Monitor for processes accessing the drive, and try again. For stubborn cases, boot into Recovery Mode (hold Command+R on Intel or press and hold power button on Apple Silicon) and use Disk Utility from there.
APFS volume shows as “locked” or operations fail with “resource busy” error APFS snapshots or Time Machine backups may lock the volume. List snapshots with
tmutil listlocalsnapshots /and delete them usingtmutil deletelocalsnapshots <snapshot-date>. For external APFS drives, disable FileVault encryption in System Settings before attempting partition operations.External SSD performs slowly after formatting or shows incorrect capacity The drive may have incorrect block size allocation or TRIM isn’t enabled. Re-erase using the correct partition scheme: GPT for macOS, MBR only for Windows compatibility. Enable TRIM for third-party SSDs using
sudo trimforce enable(requires reboot), though this voids warranty on some drives and isn’t necessary for Apple-branded storage.
Next steps#
Explore diskutil’s advanced features like creating RAID sets with diskutil apfs createContainer for software RAID or investigating S.M.A.R.T. status using diskutil info disk0 | grep SMART. Learn about APFS snapshot management with tmutil for version control without Time Machine. For automated disk monitoring, combine diskutil activity with shell scripts or investigate smartmontools via Homebrew (brew install smartmontools) for detailed drive health metrics and predictive failure analysis.